You can easily create an automatic email signature to add to your emails for your domain email accounts with Website.com. You can create more than one email signature, style the text according to your branding, and add a logo or headshot to customize further.
Follow this video tutorial to learn how to make email signatures, how to style the text and add images. You’ll also learn how to switch between email signatures if you have multiple email signatures for a single email account.
Transcript below:
Hi there! In this video I’ll walk you through how to create, style and add images to your email signatures for your email account, and if you have more than one signature for a single email account, how to choose which email signature to display when you send out an email.
I’ll show you how to create multiple signatures for one email account that you can switch between, how to style a signature, and how to add an image to your signature if you’d like.
So first, I’ve logged into my domain email account that I created with Website.com.
The first thing I’ll do is click More and then Settings.
Now on the left, look for Signatures.
You can create a new signature now by clicking + New Signature.
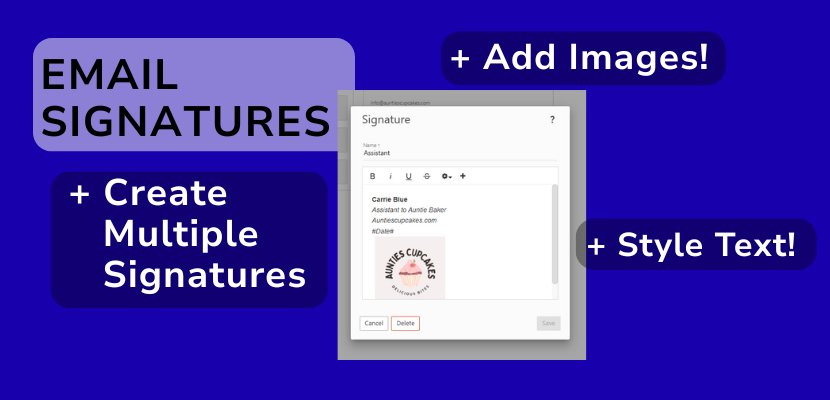
Now give this signature a name that you can recognize it by, for example, Assistant
Now you can create your signature. So I’ll add a full name, job title, and name of the business.
I’ll click the + sign to see more styling options.
I’ll make the name bold, and for the rest of the details, I’ll make it italicized and change the font colour.
Now, if you click on the Custom Variables dropdown, you can also include some variables that will pull in content like the current date, your display name, etc.
I’ll choose to add the current date variable.
Lastly, you may want to add an image to your signature.
For example, you may want to include a headshot or a company logo here.
So I’ll upload the company logo.
Once it’s uploaded, just click on the image, and you’ll see some image styling options. I’ll resize it.
And I’ll choose to have my image inline.
Once that’s done, I’ll click save.
Now I’m going to make another signature.
So having multiple email signatures is especially useful if an email is shared between team members, for example you may have an email that is specifically for an assistants for your company, for example assistant@auntiescupcakes.com.
If you have multiple assistants, they can sign off with their own signature.
If you have a small 2 or 3 person team, you may also have 1 email for your company like info@auntiescupcakes.com.
So I’ll make another email signature.
So now we’ve saved.
Now under Mapped Field, let’s assign a signature to your mailbox. We’ll choose the first signature we created.
I’ll show you where you can manually change the signature later when you send out an email.
We’ll click Save.
So let’s send out a new email.
I’ll click Email up here.
And now I’ll click New to create an email.
You’ll see the signature here.
If you want to use another signature instead, just click on the signature dropdown up here and choose another signature.
So that’s it!
As you can see it’s so simple to create an email signature to boost your professionalism and increase your efficiency when sending out emails.
Don’t forget to subscribe to @websitedotcom for more video tutorials and tips! Thanks for watching.