It’s easy to add Apple Pay, Google Pay, Afterpay, Alipay and more payment methods to your online store! Offering more payment methods will help you reach more sales, making it more convenient for customers to make payments through your website.
Make sure you’ve already set up a Stripe account, and enabled Stripe for your website. If you haven’t done this yet, feel free to follow this tutorial first.
Next, all you need to do is log into your Stripe account and enable payment methods, and add your domain name.
How to enable certain payment methods (e.g. Apple Pay, Google Pay, Alipay, WeChat Pay) in Stripe:
1. Log into your Stripe account.
2. Click the Settings icon in the top right corner.
3. Click “Payments”.
4. Click “Payment methods”.
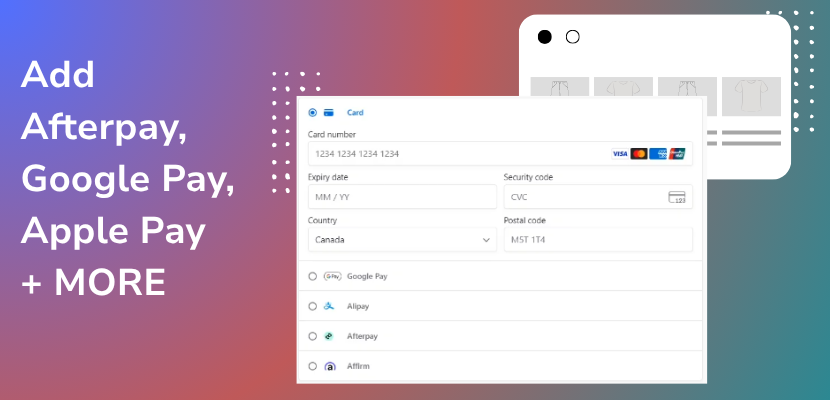
5. Here, you will see the available payment methods, such as Apple Pay and Google Pay. Click the Turn on button to activate the selected payment method.
Next, you will need to do add your domain name to accept more payment methods using Stripe.
How to add your domain name to your Stripe account:
1. Log into your Stripe account.
2. Click the “Settings” icon in the top right corner.
3. Click “Payments”.
4. Click “Payment method domains”.
5. Click “+ Add a new domain”.
6. Enter your domain name in the text box. For example, if your domain name is auntiescupcakes.com, enter it as www.auntiescupcakes.com. Click “Save”.
7. You will also need to add the non-www version of your domain name. Click “+ Add a new domain” again.
8. This time, enter your domain name without www. For example: auntiescupcakes.com. Click Save.
9. You’re done!
*Keep in mind that the currency you set for your Stripe account, and the currency that you set for your online store in the site builder must match in order for these options to be available for your customers.
Want to watch and follow along? Here’s our video tutorial:
Video transcript below:
Hi there! In this video I’m going to show you how to set up different payment methods,
like Google Pay, Apple Pay and After Pay through your stripe account, so that
customers on your website can pay using the method that is most convenient for them.
Offering these options can help make sure a sale is successfully made through your website.
Once you’ve built your online store or website with the Website.com site builder, all you need to do is connect your Stripe account, and you can simply set up these payment methods within Stripe!
What’s great to note about making your online store or business with the Website.com site builder is that you aren’t charged any commissions or additional transaction fees from the builder, so you can keep your hard earned cash for yourself.
So let’s go ahead and set this up!
Now before you watch this video, make sure you’ve already set up your Stripe account,
and have enabled Stripe as a payment method on the site builder for your website. You
can watch my previous video to see where to enable Stripe in the site builder.
Now it’s time to set up more payment methods in your Stripe account.
The first thing you need to do is add your domain name to your Stripe Account.
So just log into your Stripe account.
Click the Settings icon in the top right corner.
Click Payments.
Now click Payment Method Domains.
Click + Add a new domain.
Enter your domain name in the text box, for example, if your website domain name is featureshop.com, enter it as www.featureshop.com and click Save.
Now add a version of your domain name without www, so we’ll click + Add a new domain again, and then enter featureshop.com. Now click Save!
Now this is done, we can go ahead and add the payment methods through Stripe.
So we’ll go back to Settings, we’ll click Payments again.
Now choose the Payment Methods tab.
Here you will see all of the available payment methods, and all you have to do is click Turn On to activate them.
Once it’s turned on, if you’ve already enabled stripe for your website in the site builder,
the payment methods that you turn on here will be offered at the checkout for your site
visitors automatically.
Keep in mind that even if you turn these payment methods on within your Stripe
account, certain requirements from the visitor will need to be met in order to display
these for them.
For example, for Apple Pay, visitors will only see this payment method if they’re visiting
your website using a safari browser and have an active apple wallet.
Or for Google Pay, the visitor needs to be using Chrome or an Android device.
So it’s great to turn on a few more options to be able to accommodate different users
with different circumstances.
So as a test, let’s go to our website. I’ll go through the checkout.
And now you see that the payment methods that I turned on through Stripe are now available for my customers.
And again, you are not charged any commissions or transaction fees for your sales made through your Website.com website!
So that’s it for this video! I hope this was helpful, and thanks for watching!