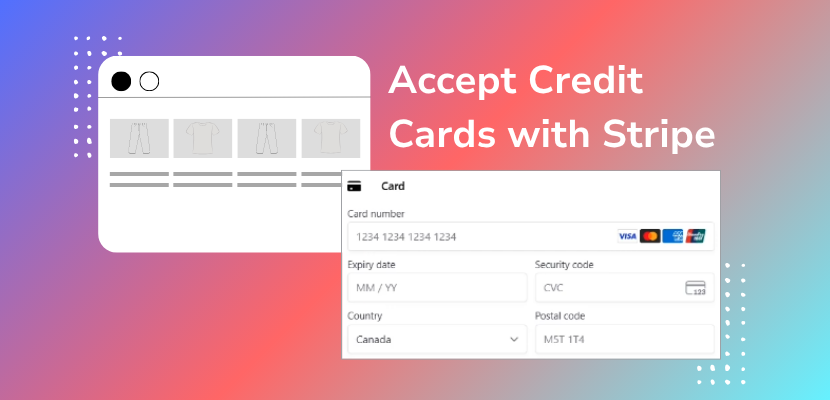
If you’re using the Website.com builder to make your online store or business, you can easily accept credit card payments on your online checkout! By adding Stripe Payment to your Website.com site builder account, you will be able to accept credit cards either in the checkout of your online store, or when customers book services through your website. A great advantage to note – Website.com does not take any additional commissions or fees from your sales through your website!
Here’s how to add Stripe to your website:
1)Make sure you have already signed up for a Stripe account with your banking and business details.
2)Once your Stripe account has been verified, you will get API keys including the Publishable Key and the Secret Key. You will need these to set up Stripe on your Webste.com site builder account. The Secret Key is only revealed to you once, so make sure you keep a copy of it somewhere safe.
3)Log into your Website.com site builder for your website.
4)Go to Site Settings > Payment Settings, and click to enable Stripe.
5)Paste the Publishable Key and the Secret Key in the correct fields, and then Save and Publish Changes!
Forgot your Secret Key from Stripe? No problem, you can create a new one!
To create a new secret key:
1)Log into your Stripe account, and you’ll see your Publishable Key and your hidden Secret Key. Click on the “i” icon and follow the link to the Developer Dashboard.
2)Create a new secret key by clicking the button “Create Secret Key.”
3)Choose the option: Building your own integration, and then click Create secret key.
You may need to go through a verification process to create the secret key, so follow the instructions if that happens, and you will have a new Secret Key.
Watch the video tutorial to see how it’s all done:
Video transcript below:
Hi there!
I’m going to show you how to add Stripe Payment to your Website.com site builder account, so that you can accept credit card payments using stripe for your online store, or if you allow online payment for bookings made through your website.
And what’s great about Website.com is that they don’t take any commissions or additional per-transaction fees from your sales or bookings, so it’s a really cost effective way to build your business.
Before we get started, make sure you’ve already signed up for your Stripe account.
You’ll need to set up your info including your banking details, the basic details about your business, and verify your identity and email.
And once your account has been verified, you will need to get your API keys, as you’ll need the live publishable key, and your secret key.
So I’ll log into my Stripe Account, and I’ve already set up my API keys when I created my account.
We’ll see on Home, here is the Publishable Key, and you can simply copy it here by clicking Click to Copy that appears when you hover on it.
However, for the Secret key, when you first set that up, it is the only time it will be revealed to you, so it was recommended to store it in a safe place or write it down and keep it somewhere secure.
However, if you forgot to store the secret key, have no fear, you can simply create a new one.
So I’ll show you, just click on the “i” icon here, and then follow the link to the Developer Dashboard.
Now again, you’ll see the Publishable Key here, so you can copy this.
For Secret key, this is not the full secret key, so make sure you don’t copy from here as it will not work.
Now let’s create a new secret key by clicking this button here.
So click Create Secret Key, and then we’ll choose the option: Building your own integration, and then Create secret key.
Now you may need to go through a verification process to create the secret key, so follow the instructions if that happens.
So now my new Secret Key has been created.
Now this is the only time this secret key will be revealed to you, make sure you save it somewhere or write it down.
Once you have both your Publishable Key and Secret Key, let’s head over to the website builder.
Now let’s log into my site builder, and whether you want to set up Stripe payments for your online store, your bookings, or both, you can find the Payment settings by going to Site Settings > and then Payment Settings under ECOMMERCE.
Now we’ll see the accepted your payment methods, and we’ll click Enable for Stripe.
Now that we’re here, we can enter the Live Publishable Key and the Live Secret Key that we grabbed from our Stripe account.
Once that is done, click Save and Publish Changes.
Just a quick tip, there are a couple other access points to set up payment methods.
We’ll click the home icon to go back in the left panel, and if you have an online store, just click on online store, and you can open the store manager and find Payments here or here.
If you offer online booking, we’ll click on the home icon again and then choose Bookings, and you can click on Payment Processing to set up payment methods.
So again, it’s great that the Website.com site builder doesn’t take any commissions or charge transaction fees for your bookings or sales, so you can keep that hard earned money for yourself.
Now let’s publish the website once more to make all the updates I’ve made to my website go live, and let’s take a look at the live site.
So you can see when visitors check out, they can pay with credit card using Stripe.
Now in my next video, I’ll show you how to set up different payment methods using Stripe, like Apple Pay, Google Pay or AfterPay. See you on the next one!