Looking to offer classes on your website? You can set up online booking on your website to allow visitors to directly sign up for classes. Adding online booking for your classes can lead to a higher participation rate, and can make it more convenient for you, your staff, and students to manage their schedules.
Follow along the video to find out how to set up online booking for classes. The video transcript is below the video.
Video Transcript:
Hi everyone! In this video I’ll show you you how to set up online booking for a class on your website.
You can set a class with a set number of participants, and even allow for payment for your class through the website, or allow students to pay in person.
So let’s get started.
I’m already logged into my website builder, and I’ll click on Bookings to add Online Booking.
Now let’s open the bookings manager.
So to create a class, we’ll add a service.
So I’ll click Add Service, and now I’ll add my class, Painting For Beginners.
I’ll create the Category.
Now I’ll click next.
So let’s fill in the information for the class.
Add the tagline.
For the description, I’ll write about the general format of the class and who it would be best for.
If you have an image to add, that could be enticing.
Now under service settings, we’ll set the duration of the class, which will be 1 hour.
Don’t worry too much about the buffer time, because this is a class offered at specific times of the week, we will need to set custom hours that list the specific class time for this service down below, instead of having a range of time that clients can choose to book from like if you were offering appointment based services like a massage.
Now we’ll set the maximum number of participants for the class, so I will set that to 10 students.
Now I’ll add the price. I will make it a fixed price at $50 a class.
And you can choose to allow students to pay online or in person at the class. Keep in mind that if you choose to allow students to pay online, you’ll need to make sure you set up your payment methods for booking.
I’ll choose that option.
Now you can choose whether your want the class booking to be auto approved, or manually approved.
This means, if a class is booked through the site, if manual approval is on, you will need to make sure you set email notifications for bookings, and then log into the booking manager and approve each booking.
If auto approval is enabled, then the booking will be made without your approval.
We’ll keep it on auto approval.
Now choose the location of the class.
If you choose Business Location, it will take place at the address that you list as your business location in your Business info, so make sure that you fill in that information, and I’ll show you where to do that after we create the class.
You can also choose a custom location, and you can add the address here.
Now I’ll keep scrolling, so here is where you can set your staff and the custom hours for this service. For example if Samantha Yee teaches this class at 9:00 a.m to 10:00 a.m, I’ll select that, and then under hours, I’ll choose custom, and now I’ll turn off the other options. For example if Samantha is teaching every Monday from 9 to 10, I’ll set that as the only option that can be booked with Samantha.
So I’ll save that and you might want to add other options. For example, if another staff member will offer this class – to do that you can click add new staff, which will open up the staff manager.
Make sure you fill out this information and keep note of the password that you set for them, so that they can log into the staff manager and control what you give them access to.
And now you’ll need to set the permissions that this staff has access to. We’ll scroll and click view and edit. I’ll need to at least make sure, at the bottom, for the booking manager I’m going to allow her to have full access to manage her own bookings. And then I’ll click save, and I’ll click save again. I’ll click done we’ll close the staff manager.
So we’re still in this service that we’re creating, Painting for Beginners class, so I’ll choose to add Mary Smith as a staff member. I’ll set custom hours. Let’s say she teaches every Wednesday from 3:00 to 5:00 p.m, sorry 3:00 to 4:00 p.m because it’s a 1 hour class. So we’ve set that now, I’ll click save.
When this is all done, you can now save the class.
We’ll close that, and now I’ll open the bookings manager again.
Don’t forget that you’ll need to set your business info, so you can put in your address for your business, the currency you are charging for the class, the time zone the calendar is set for, plus your business name and logo if you’d like.
If you are accepting payment online at time of booking, you’ll also need to make sure you set up payment.
I’ll quickly show you, if you want you can enable PayPal, Square, and Stripe, and here is where you can set that up once you have accounts for those payment options.
You can also choose to set tax rules for your services as well.
So that’s everything you need to know to set up a class to be booked through your website!
If you want to offer different classes, you can repeat the same method, just ensure that if you have a staff member offering multiple classes, you set the custom hours for each service to prevent conflicts or double booking.
Let’s publish the website.
And let’s go to the live site.
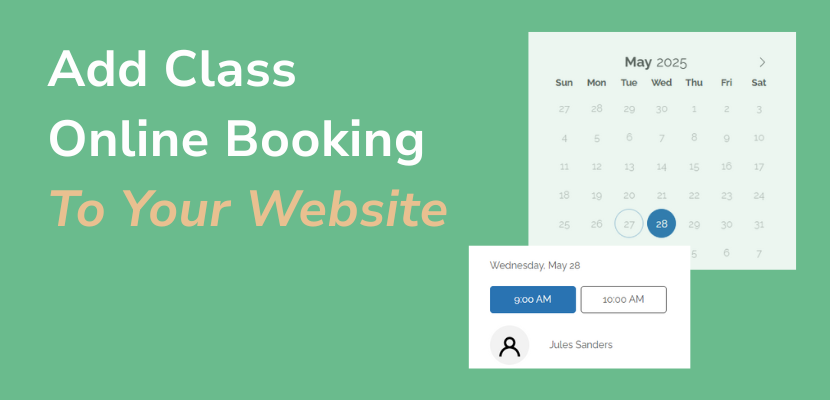
As a visitor, I can go to the classes and select the class I’m interested, and sign up right away!
So that’s how easy it is to create a class on your website and allow visitors to easily sign up!
We hope this video was helpful, and thanks for watching!