Did you know that you can set up a Facebook Chat plugin right on your website? Facebook Chat adds a Messenger icon to your website, which allows your website visitors to chat with your business through Facebook Messenger. This is a fantastic way to chat with your visitors for free! Conversations started on your website using Facebook Chat will be directed to your Facebook Messenger inbox, which allows for easy chat management.
To add Facebook Chat to your website, you’ll need a Facebook Page. Here are the steps to properly set up your Facebook Page to accept messages, find the Facebook Chat code, and add the Chat code into your website built with Website.com.
Before setting up Facebook Chat, you must first ensure that your Facebook Page accepts private messages.
1)Visit this page: https://business.facebook.com/ and log into your Facebook account.
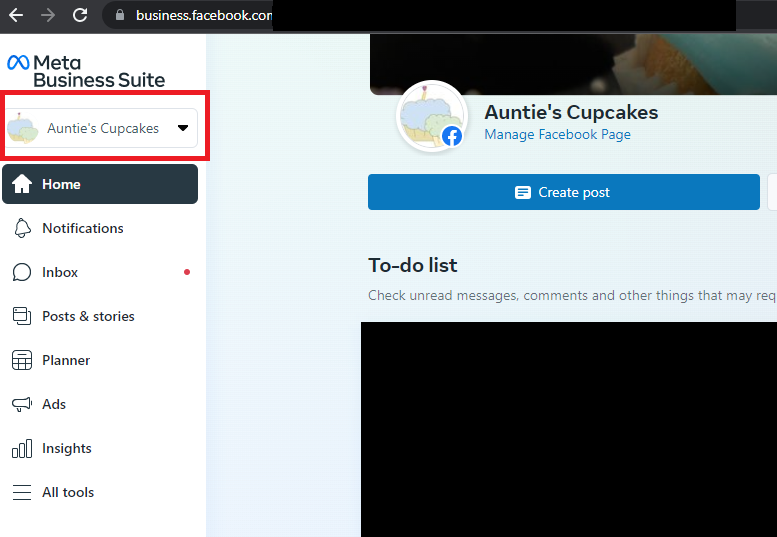
2)In the left sidebar, you will see the Meta Business Suite logo. Under this logo, there is a dropdown to show the Facebook Pages you manage. Click the dropdown to choose the Facebook Page you want to manage. If you only have one Facebook Page to manage, then proceed to the next step.
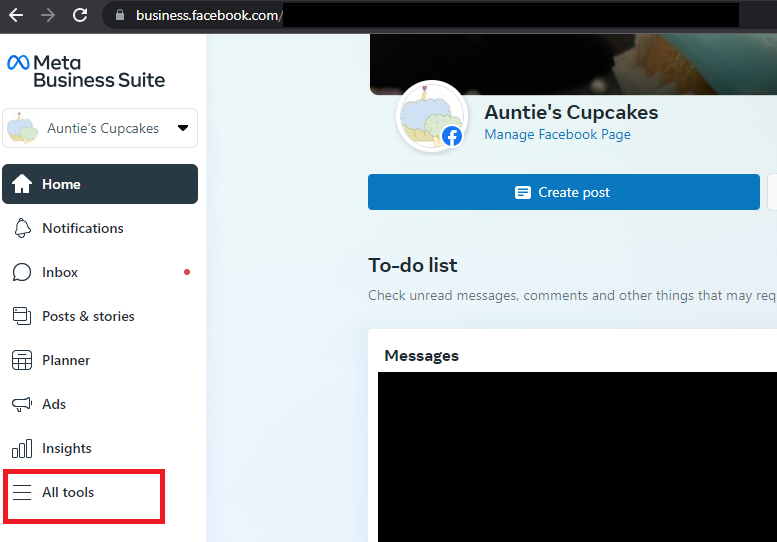
3)In the left sidebar, click “All Tools.”
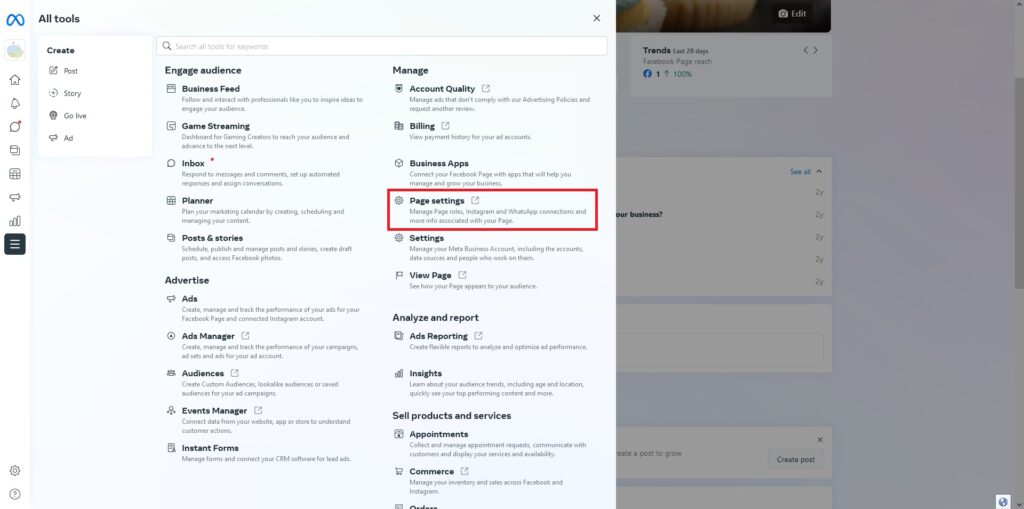
4)Now, click “Page Settings.”
5)The next steps will differ depending if your page is on “Regular Mode” or “Classic Mode.” If you are on Regular Mode, you’ll see “Privacy” as the second option in the left sidebar.
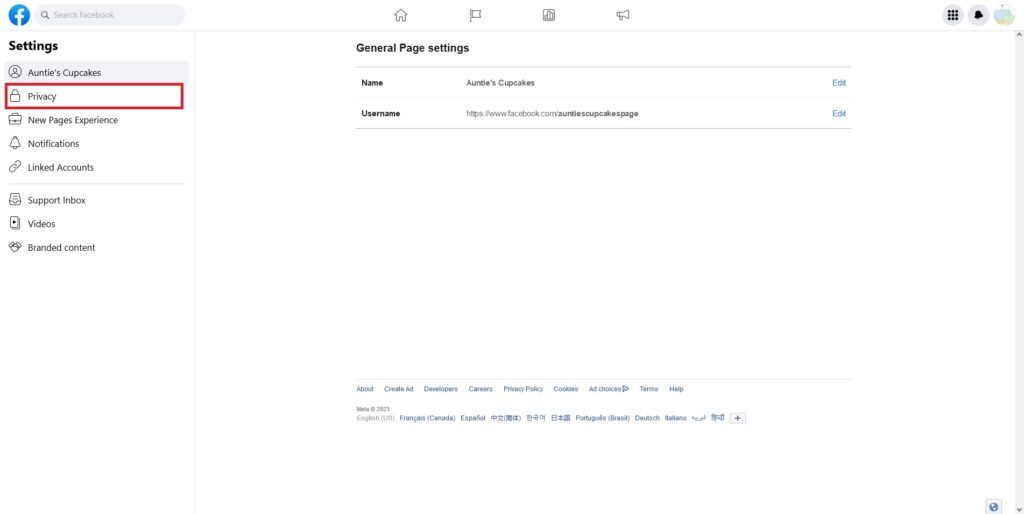
If you don’t see the word “Privacy” in the left sidebar, but see “General” as the first option and “Page Info” as the second option, your page is considered as “Classic Mode.”
For “Regular Mode”:
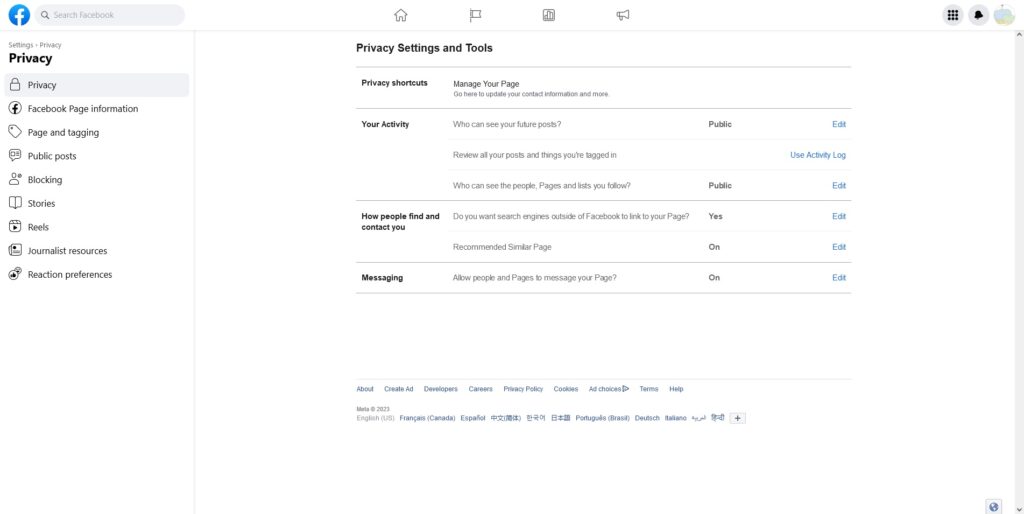
Click “the “Privacy” button. In the “Messaging” section, you’ll see the “Allow people and Pages to message your Page” option. If you see “On” that means your page can accept private messages. You can proceed to the steps to get the Chat plugin code!
If you see “Off,” that means your page does not accept private messages. Click “Edit” to turn it on. Once you have marked “On,” click “Close” to save. You’re now ready to proceed with the steps to find the Chat plugin codes!
For “Classic Mode”:
On the “Page Settings” page for your Page, under “General”, look for “Messages.” For “Messages,” if you see “People can contact my Page privately.” You are ready to proceed to get the Chat plugin code!
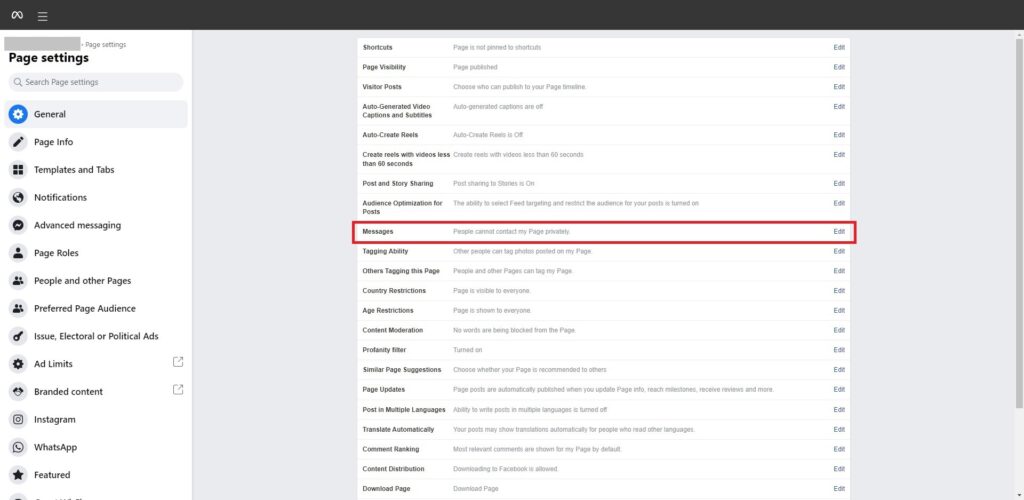
If you see “People cannot contact my Page privately.” that means your Page cannot receive private message. Click “Edit” and you’ll see a checkbox to “Allow people to contact my Page privately by showing the Message button.” Tick the checkbox and hit “Save changes”. You have just successfully set your page to accept private messages and can proceed with getting the chat plugin code!
Steps to Get The Chat Plugin Code and Add Chat To Your Website
1)Visit this page: https://business.facebook.com/ and log into your Facebook account.
2)In the left sidebar, you will see Meta Business Suite logo. Under this logo, there is a dropdown to show the Facebook Pages you manage. Click the dropdown to choose the Facebook Page you want to manage. If you only have one Facebook Page to manage, then proceed to the next step.
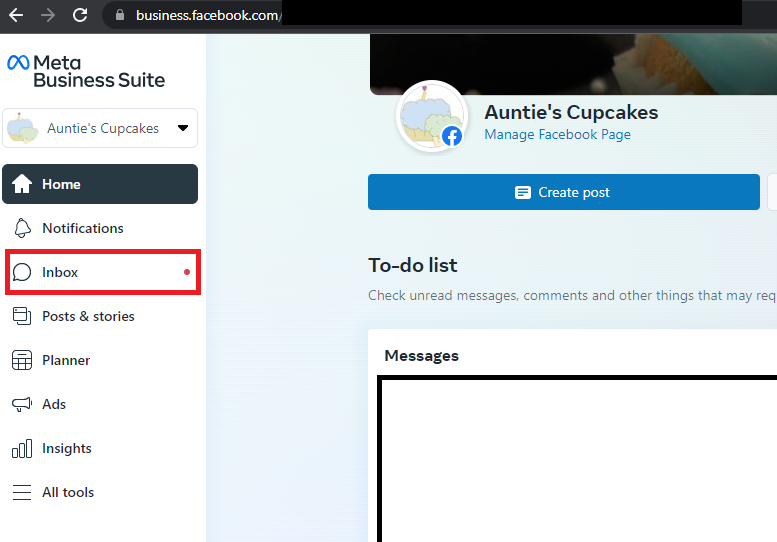
3)Click the “Inbox” button in the left sidebar.
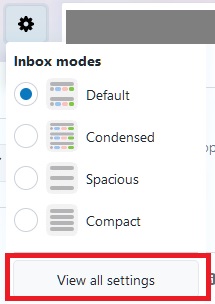
4)You are now redirected to the Facebook message inbox page. On the top right side, click the Settings icon.
5)Click “View all settings.”
6)You’re now on the “Inbox > Inbox Settings” page. Click “Chat Plugin.”
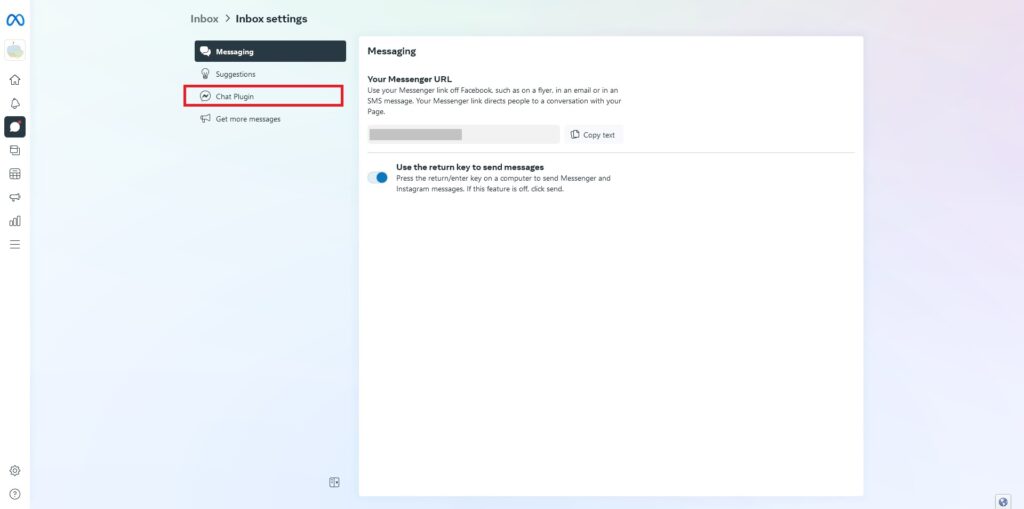
Click the “Set up” button to set up your Chat Plugin.
7)Select “Standard” in the popup.
8)Now you can set language. Choose a language from the dropdown and then click “Save & continue.”
9)Next, add your domain to tell Facebook where Chat will be installed. For our case, we will insert “http://www.auntiescupcakes.com/” and “http://auntiescupcakes.com/ and then click “Save & continue.”
10)Now Facebook will display the code. You can now copy the code.
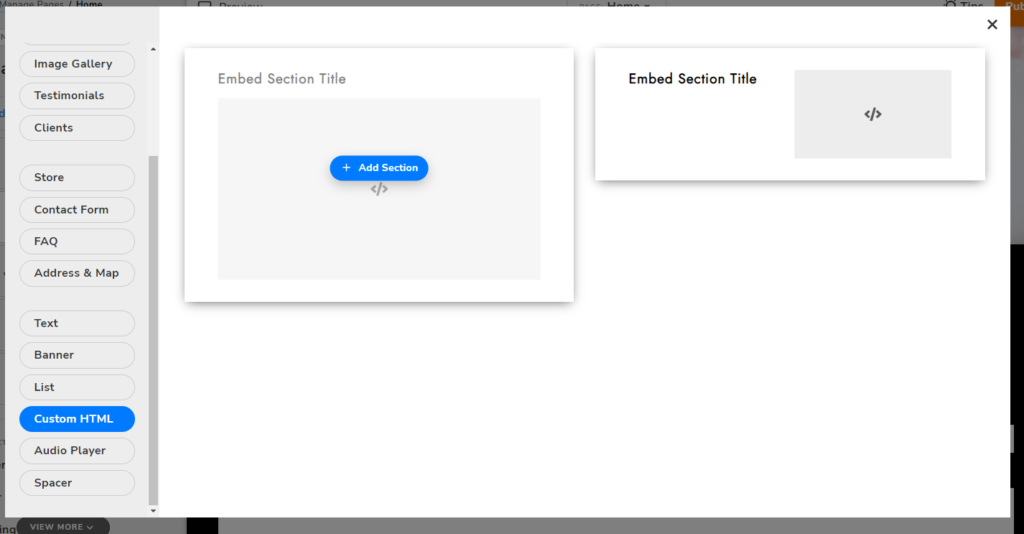
11)To add the Chat plugin to your website, log into your Website.com account and go to the site builder. Add a section, and select the Custom HTML section.
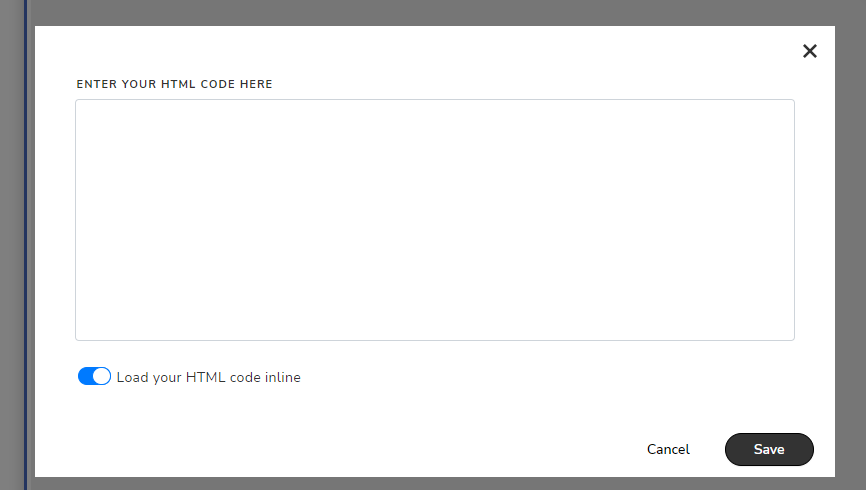
Paste the code and toggle on “Load your HTML code inline.” Click the Save button.
12)Toggle off the Title for the section, so that it won’t display the “Embed Section Title” text on your website.
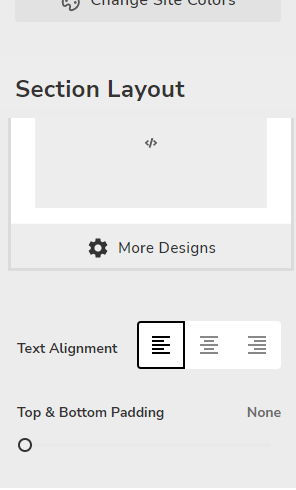
13)On the left, click “Change Colors & Layout” button. For “Top & Bottom Padding,” adjust the horizontal scroll bar to “None.”
14)You’re ready to publish your website! You can go to your website and see the Facebook Chat plugin is on your site and ready to connect you with your visitors.