In this tutorial, you’ll find out how to add a link to allow users to download media from your website. This is a great tool if you have a press kit or media assets that you want to allow potential collaborators to download, or you want to offer digital products, like e-books, clothing patterns, project templates or music files.
This tutorial will also show you how to create a digital product in your store and make your digital downloads accessible to members.
How to add a downloadable link to your website:
Log into the Member Zone of your Website.com account, then access the site builder.
You can add links to text, buttons, and images throughout your website.
If you’d like to add a link to a button, click on the button. On the left, click the field under “Button.”
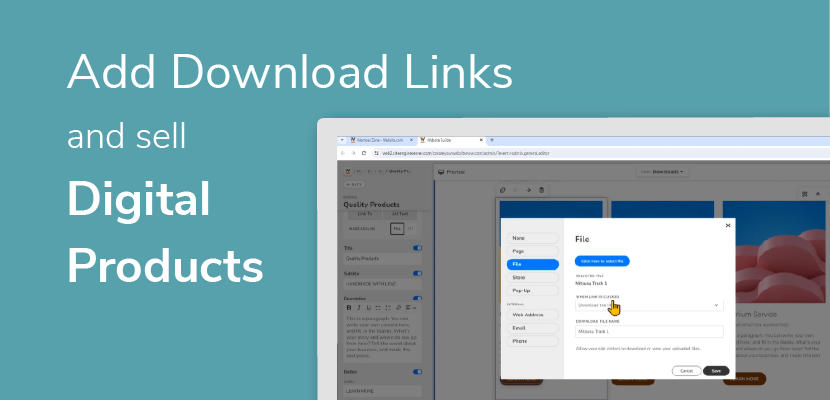
You can now choose the type of link you want to add, so be sure to choose “File,” then “Click here to select file.”
You can upload a file by clicking “Upload File” in the top right, or just choose a file that you’ve previously added to your file manager. Choose the file you want to link to the button and then click Save.
Now you can choose the action that you want to happen when the link is clicked. Keep the action as “Download the file.” You can also change the download file name.
Click Save.
Once you publish your changes, this link will now be able to be downloaded by site visitors!
How to make download links exclusive to Members or Password Holders:
You can easily make your download links available only to your Site Members. Note that the Members feature is available for all Website.com Personal Plans and above.
To make a page only open to Members, click on the Website.com “W” logo on the top left to go back to the start menu. Next, click on “Manage Pages.”
Click the pencil icon that appears when you hover on the page you want to make exclusive, then choose “Page Permissions.”
Choose All Members. Note: you can also change it to be visible to Selected Members or Selected Member Groups once you have added some members to your website, but right now I’ll choose All Members.
Alternatively, you can also just set it to be password protected instead of using the Member option.
Now that page is exclusive! If you want to use this tool to sell digital products in your store, it’s time to create a product in your online store.
How to add a digital product to your online store
If you don’t already have a shop for your website, make sure you click “Store” and set up your store.
When you’re ready to add products click “Store” > “Add New Product.”
Enter all the information needed about your digital product.
Be sure to enable the Personalized Order Details Form, and add 2 fields: Name and Email Address. Mark both as mandatory.
This ensures that you collect the visitor information to easily add them as a member after they’ve completed their purchase.
After users order this product, you have their details so that you can fulfill their order by adding them as a member. After adding them as a member, you can email them the link or instructions to download your digital product.
Publish to make all of these changes go live!
How to add members:
To add a member, click the Website.com “W” logo to go back to the start menu, and then choose “Members.”
Now click “Add New Member.”
Enter the details that you collected when they completed their order.
Enter a secure temporary password for now. Select the option to send an email notification, which will inform new members and allow them to change their password.
After doing this, it would be ideal to send an email with more instructions on how to access the digital files, which includes a thank you and link to the page which contains their digital download.
Note: if you send this email out from your custom domain email, it will give even more credibility to your business. Depending on your plan you may already have domain emails, so make sure you take advantage of this!
Be sure to publish again to make sure everything you’ve done is live!
Are you a visual learner? Follow along with our video tutorial: