The Website.com Site Builder is the fastest and easiest way to make a real estate website. A real estate website can help you cater to specific demographics and locations, or let you reach a wider audience. Learn how to create a real estate website with this guide.
To create a real estate website, first find and choose a real estate template. Simply enter “real estate” into the template search bar in the Website.com Site Builder to find dozens of beautiful templates tailored towards creating real estate websites. Choose one that you’d like to use by hovering your mouse over it, then press “Select” to use it.

Now you need to create the core features of all real estate sites.
1. Detailed Property Listings
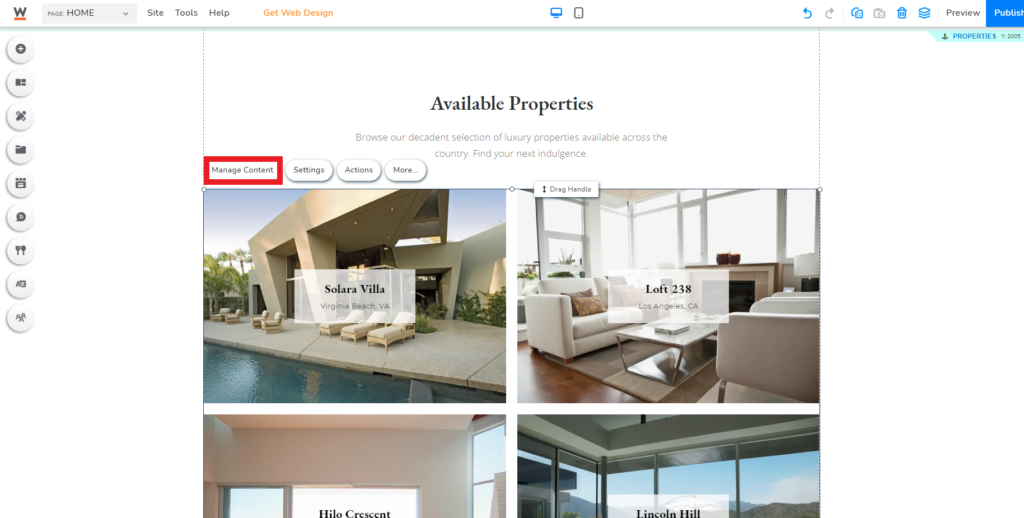
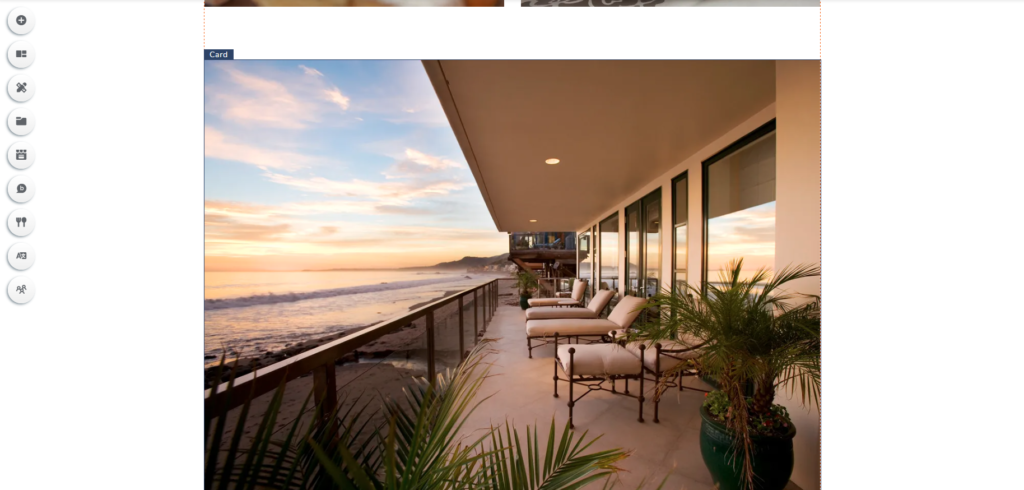
Property listings are the key to your real estate site, as it’s what visitors are likely coming to your site to browse. It’s ideal to embed and display property listings on your home page so they’re easy for your site visitors to find. Using the Card feature of the Website.com Site Builder, property listings with images, text, and a linking function can easily be implemented, such as in the example below.
Add links to your Cards displaying properties to take people further along in their exploration of your site. To add a link, left-click once on the Card, and you’ll see a button titled “Manage Content” appear close to the Card you clicked.
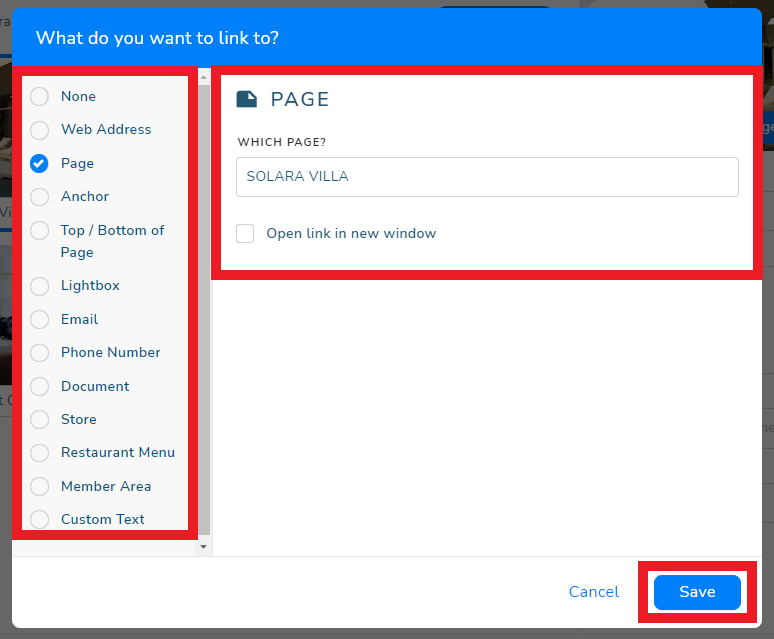
Left-click this button to have a new window pop up, in which you’ll see all the different items in your Card, and for each one, a corresponding text box labeled “LINK TO” in the new window’s right column. Left-click once anywhere in the text box of Cards’ items for a new interface to pop up, which lets you select what sort of link you’d want to have connected to that particular item in the Card.

As an example, in the interface you can choose to link to other pages you’ve created on your real estate website. You can create detailed individual pages for each property you’re displaying on your site, which will be the sort of page you’d most ideally link the displayed property items to. Press the “Save” button in the bottom right corner once you are happy with the chosen link.
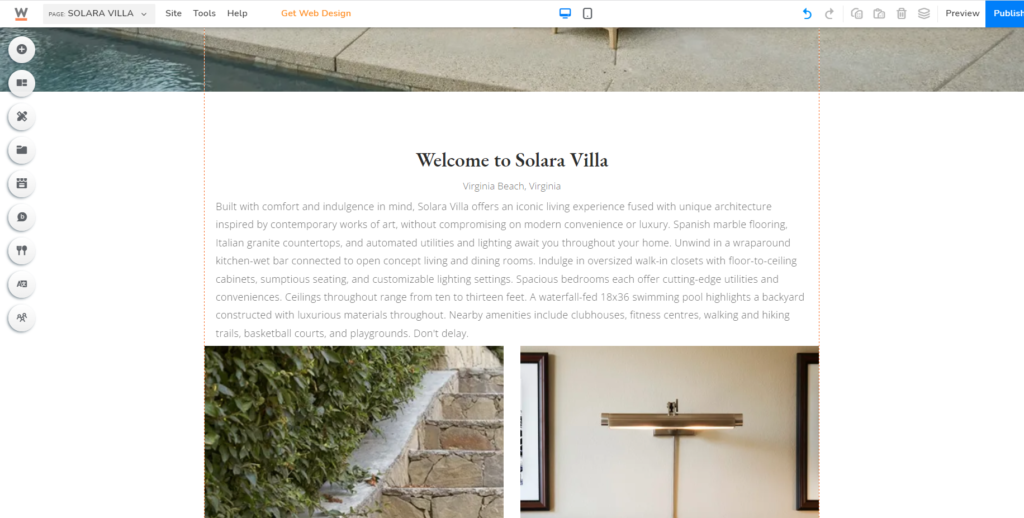
It’s desirable to have an individual unique page that details each property you’re selling or have sold. Demonstrate your expertise by including lots of detailed information about each property, with the details you include being different based on whether the is still currently listed, or a previously closed deal. Create a section displaying offers for properties you currently have or have received in the past for the property to intrigue and inform your visitors. Make sure to include lots of images and important pieces of information to flesh out each page and make each property appear desirable.
2. Visuals and Photography
Appealing visuals and photography are key to encouraging interest in properties. Your aim with this appeal is to create atmospheres and ambiences that suit what prospective buyers want. From a strong first impression to lasting , make every visual as appealing as you can. Ensure your photography is eye-catching and interesting, not dull and boring. Use professionally-taken, high-res photos whenever possible. Additionally, don’t shy away from using video content to better catch eyes.
3. Registration System
An underestimated aspect of a website’s appeal to its users is a registration feature. The appeal of having a personal space and access to exclusive features is always appealing to users, demonstrates your care and desire to add value to what you offer, and can in turn greatly influence prospective buyers’ decisions. One important thing to note, however, is to keep the initial signup process short, as users greatly dislike long signup forms and similar other processes. With registration capabilities on your site, you can, for example, let users save and view favorited properties and pages, or any other more advanced features that can let prospective buyers customize their experience on your site and feel more catered to.
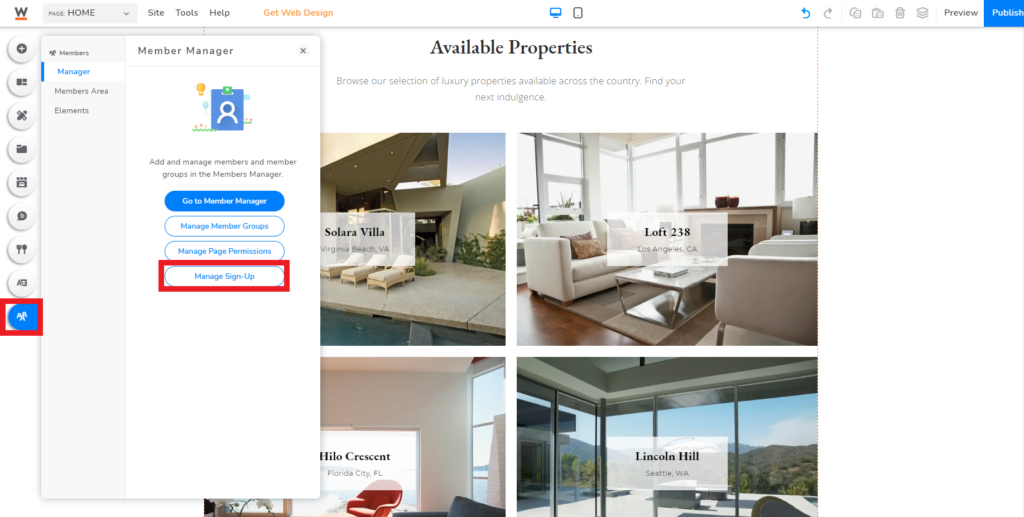
To create a registration/membership system on your site, look at the column of buttons down the left side of the Site Builder and find the Members button. Left-click it once to open an interface that shows you several options for implementing features related to site membership. Under the Member Manager Tab, find the “Manage Sign-Up” button and click it to start setting up the membership system on your website. Explore other features offered with the membership system by opening and reading through the other tabs and buttons that relate to setting up and using site membership.
4. Contact Us and Follow Us Functions
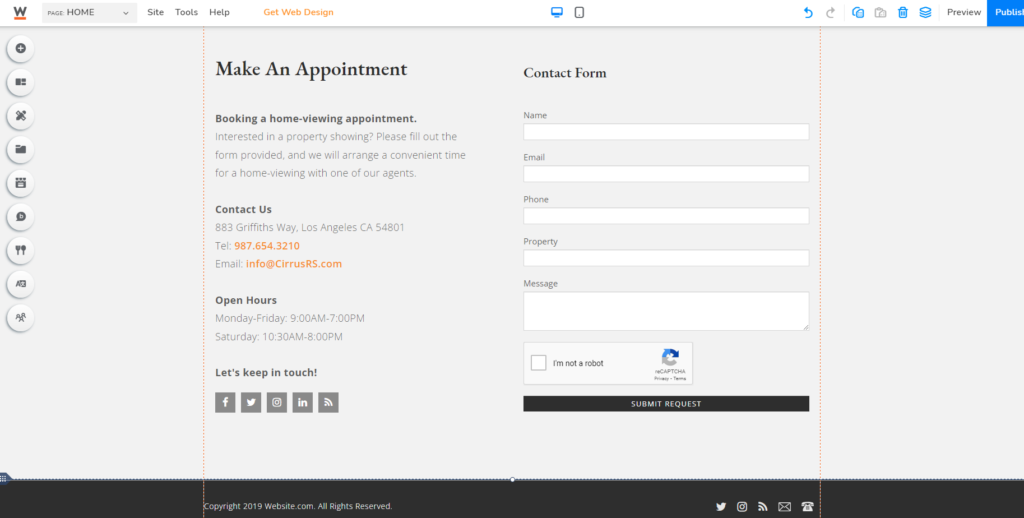
Site visitors, users, and prospective buyers shouldn’t have any trouble reaching you easily. That’s why any real estate website should implement features like Contact us forms/pages, Follow Us widgets, and/or options for live chat that let interested individuals or groups contact them. Implementing these features to your site show that you care about your potential clients and want to ensure they have ways to reach you.
5. Large Informative Footer
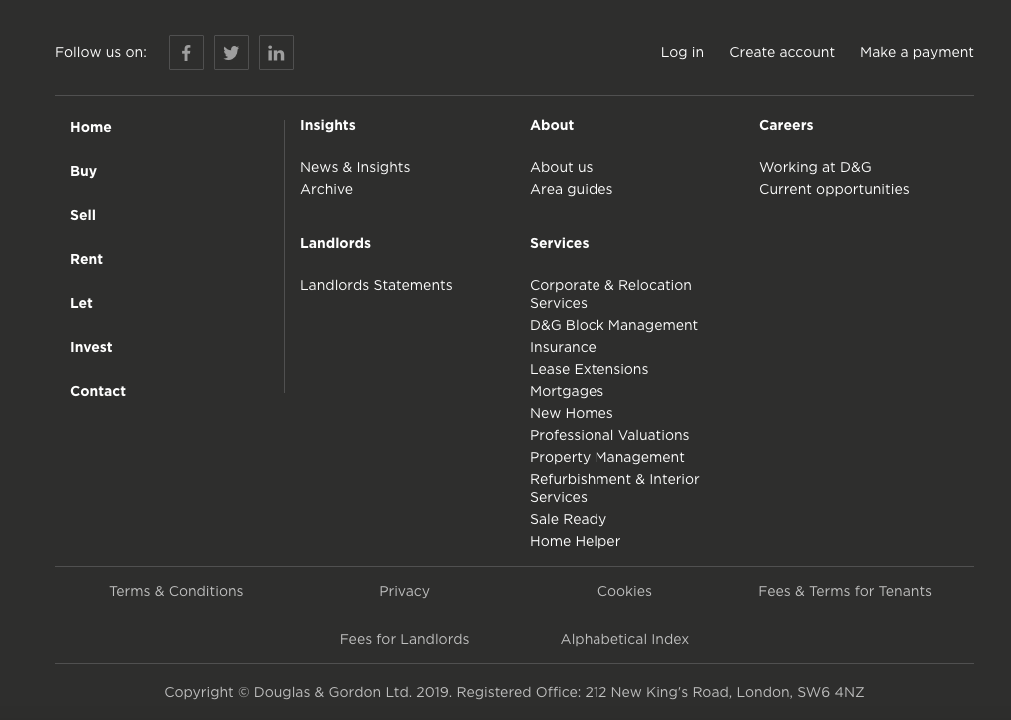
Large informative footers are a way to get a lot of function and flexibility out of the bottoms of your site pages. When site visitors are done scrolling through a page, you can use a large footer to inform them about other locations they can go to on your site, your social links, ways to sign up and join site membership, and more. This functional space can offer great value to your site’s design when populated with many links and locations for your site users to choose from.
6. Reviews and Testimonials
Trust in businesses is best cultivated by visitors and potential clients being convinced by the experiences of past buyers and clients whose place they might soon take. 57% of US consumers find customer reviews helpful, 34% of consumers report always reading online reviews, and 94% of consumers have avoided companies due to seeing negative reviews. By featuring positive testimonials and reviews on your real estate website, you can demonstrate to site visitors and potential buyers that you’re a trustworthy, professional real estate group which will help fulfill their needs.
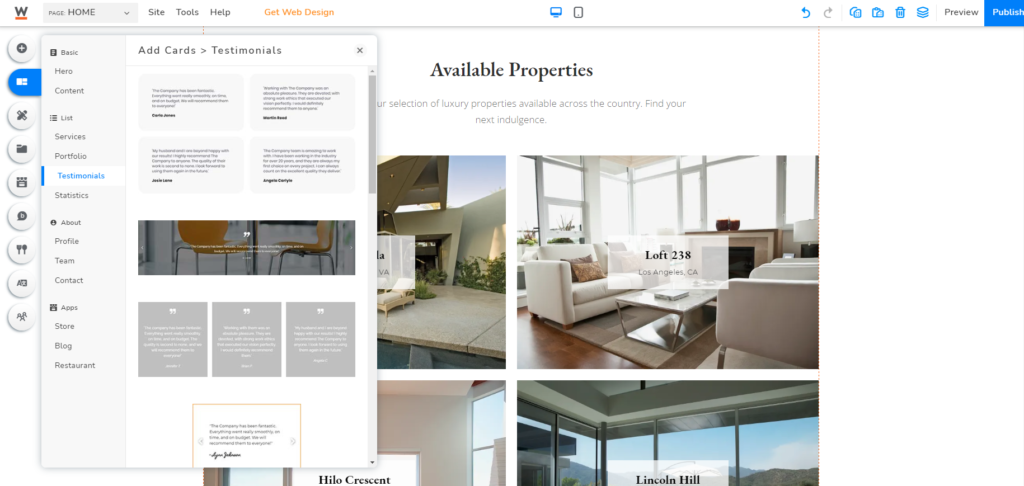
There are several options for how you could go about implementing reviews and testimonials on your site, all located under one convenient location. Simply look in the column of buttons present on the left side of your Site Builder interface. Find the “Add Cards” button and left-click it once, then, in the new interface that appears after doing so, find the “Testimonials” tab under the “List” section. Here you’ll see a wide selection of elements you can add to your site to feature testimonials.
A good website can take your real estate business further than other tactics you might employ to entice visitors and potential buyers. Make a strong impression with quality functionality and visuals, make yourself and your listings easily accessible to visitors and potential clients, and implement ways for you to build trust with site visitors and for them to reach out to you. With the flexibility of the Site Builder’s tools, any vision for your site can be brought to reality.