You can now add images not only to your products on your Website.com online store, but you can also add images for your product options.
Showing variations of your products can greatly help your sales, taking the guesswork out of making a purchase.
- Log into your Website.com site builder account.
- Click Online Store.
- Add a Product.
- Fill out the information, and then add Options (for example, Colours).
- Next, add Choices (Red, Blue, Green, etc.).
- Once Options and Choices have been added, you will see additional settings that you can customize, including the option to upload images for each option choice.
- Add images from your file manager, and once your product is saved, you can publish your website and see the different images for each product option on your live site!
Watch the video here:
Video Transcript:
Hi everyone! In this video I’m going to show you how to add images to your products, and also your product options.
This video is for you if you have an online store and are looking to make it easy for customers to feel confident in making a purchase.
Product images are super important, especially for an online store, to help customers make a decision if your product is right for them.
If you product offers different options, such as different colors or designs, having images for each option is so helpful for potential customers.
So I’m logged into my website builder, and I’ve already made an online store.
Let’s go to the store by clicking online store, and we’ll add a product. You can open the store manager or use the quick Add New Product tool.
Now I’ll start by inputting the product details.
Under Images, you can click Add Image. Now this is where you can put the main product images.
I’ve previous uploaded the images to my file manager, but you can also upload from your computer by clicking upload file in the top right corner.
Now I’ll select this image.
I’ll also click Add Image to add another product image.
Now that we’ve done that, it’s time to add product options.
So we’ll add the first option, Colors.
And now we’ll add choices by typing the choice name, and then add a comma after it to create each option variant.
Now you’ll notice once you’ve done this, there are new settings that you can customize for each option choice.
Now here is where you can add a unique image for the option choice.
This is the product image that be displayed if a customer chooses this option.
We’ll add an image for each option, and there we go!
Now we’re ready to save the product.
One more thing before we visit our live site, I want to show you how you how the options will be displayed on each product page.
If we close the store manager, under the Online Store side panel, you’ll see Product Page under Design. So here, you can update the design template that all of the product pages will follow.
So we’ll click on the body of the page, and you’ll see the different styling options.
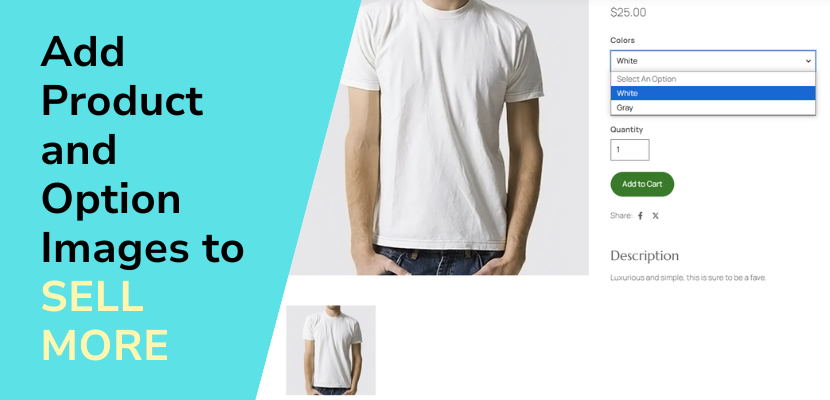
Note that product options are currently displayed as a drop down, but you can also choose a variant pill option, so each option will be displayed as a pill that customers can select.
So let’s set it to the pill styling.
And let’s publish the website changes so far.
Now let’s visit our love website.
We can shop, and let’s click on the product we just added.
Now we’ll see all the options, and when an option is selected, it will show the product image for that option.
So that’s it! You’ll see how easy it is to add images for your products and product options, and also how to update how your product options are displayed.
We hope this was helpful, and thanks for watching!