Did you know that you can save and restore saved versions of your Website.com website? Easily make saved versions of your website throughout your website building process, so you can have a worry-free website building experience!
All Website.com Elite Plans and above allow you to restore your website to Saved Versions of your website.
With all Website.com plans, a saved version of your website is automatically created every time you publish or reset your website, but with Business Basic plans and above, you can also choose to save a version of your website at any time.
To create a version of my website, just click Site Settings on the bottom left, and then scroll down to look for Site History under Tools.
You’ll see your Current Version of your website design on the top of the list. To save a copy of it, just click Save.
Give this site version a name so you can reference it later.
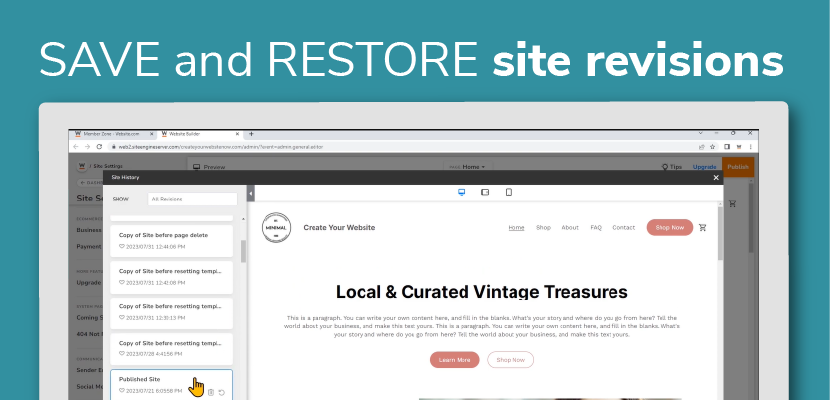
To view a preview of a saved version of your website design, just click on the revision title.
Note that you can use the dropdown on the top to filter through the list of revisions. Just click on the dropdown on the top beside “Show,” and you’ll see that you can apply a filter to show: all the revisions, all the revisions that you’ve manually saved, all of the versions that have been automatically saved by the website builder, or your favorited versions.
To add a revision to your favorites, just click the heart on the version to mark it as a favorite.
When you hover on the revision, you’ll see that you can click on icons to rename it, or delete it altogether.
To restore your design to a previous version, just hover on the revision you want your site to revert to, and click the restore icon to restore your site design to this revision.
When you’ve restored the website to the design you like, just click Publish in the top right of the builder to make the changes go live.
Watch and learn from our video tutorial!