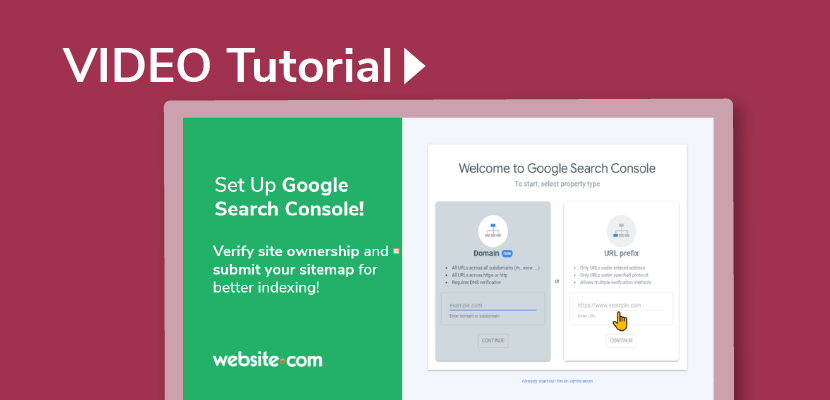
In this video, you can follow along to verify your ownership of your website with the Website.com site builder, and set up Google Search Console. Using Google Search Console, you can submit your sitemap and track your site performance on search results. Feel free to read the video transcript, included below the video.
VIDEO HERE:
TRANSCRIPT BELOW:
Hi everyone! In this video I’m going to show you how to set up Google Search Console so you can get your website ownership verified, submit your sitemap, and use Search Console to track your website’s presence on Google Search Results.
First I’ll show you how to verify your ownership of your website.
Before we begin, log into your Google account that you want associated with your website.
Now go to the Website.com site builder and log into the site builder. I’ve already logged into my Website.com site builder.
Now on the left, choose Marketing & SEO.
Under Get Found on Search Engines, choose Site Verification.
Now you can choose Google Search Console.
Now that we’re here, we’re going to follow the steps find your site verification tag.
So click on this link to Open Google Search Console in a new browser tab, and remember that we’re already logged into the google account we want to use with our website.
So you’ll see these 2 property types. Make sure that you choose the URL Prefix option.
Now input the URL for your website.
If you’re unsure of your website URL, you can republish your website – just make sure it’s all updated and ready to be published.
So we’ll go back to the tab with our website builder open, and then in the top right, click Publish.
Once that’s done, you can see your URL right here, so just select it and copy it.
Note that if you have HTTPS enabled, which is the secure version of HTTP, that will be included in your URL. HTTPS is included for free with all Elite plans and above.
Now we’ll go back to Google Search Console, and then paste the URL. And then click continue.
Now you will see many site verification method options.
Instead of the featured method here, click to open the HTML Tag method, and then click the button to copy the meta tag.
Now we’ll go back to the site builder, I’ll just close this, and now paste the meta tag in the field for site verification tag.
Now click the button that says Save & Publish.
So we kept the browser open with Google Search console, so make sure you’re looking at the HTML tag method, and click the Verify button.
Now that we’ve successfully verified your website ownership, you can continue to Google Search Console, and we’re going to add a sitemap so that Google can properly index our website.
So we’ll click Start to go to Google Search Console.
On the left, navigate to Sitemaps.
So under add new sitemap, you’ll see the website that I’ve just verified, and now just type sitemap.xml after the slash.
Now click Submit. And now the sitemap for your website has been submitted!
So you can go ahead and explore Google search console, but these steps of verifying your website ownership and submitting your sitemap to Google are important to make it easier for Google Search to crawl and rank your website in search results.
That’s it for this video! Don’t forget to subscribe to @websitedotcom for more website tutorials, thanks for watching!
